Buck Development
November 26, 2006
"We started on the body plug this week. Use of the large format 5-axis CNC machine didn't work out, but we've come up with a fairly creative way to still use some modern technology to assist in the task..."1
December 01, 2006
"As I stated last weekend, the plan to use a large format 5-axis CNC machine for the body plug didn't work out. Our back-up plan was to do it the old fashioned way and start cutting profiles out of wood and filling the gaps with foam until we had the shape of the car ... but our engineer had a pretty good idea for a different plan of attack ...
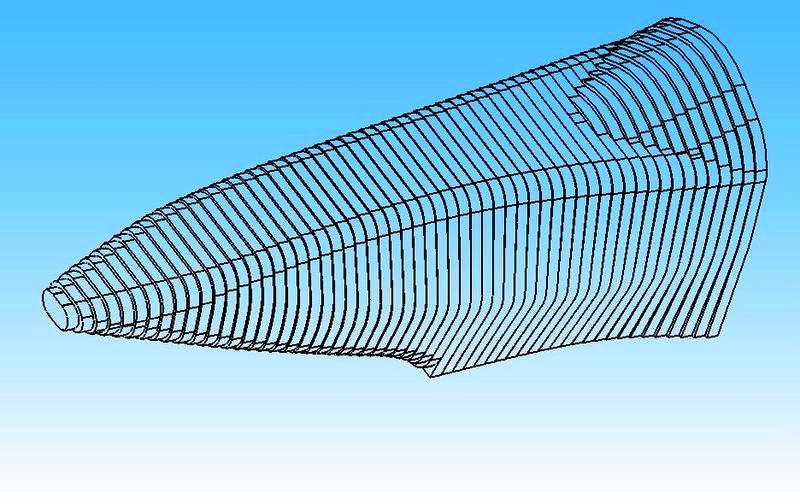
Using the computer, he took 155 (or so) 'slices' of the car (see CAD image) which we could then have waterjet cut out of 1 inch thick foam. Each part has the number cut into it as well as pilot holes for 1 inch pipe to be used to perfectly align all the parts when they are assembled. See the the computer image of what it should look like ... and the actual results
when we mocked up the pieces.
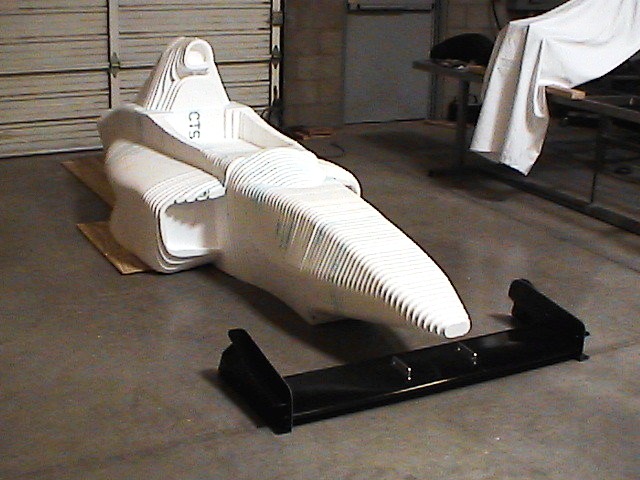
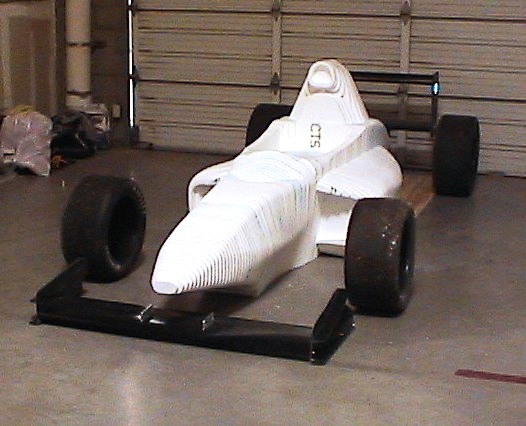
Yes, we still have some sanding to do, but I'm confident we've shaved several weeks off the build time doing it this way. The cost is about 10% of what the 5-axis CNC process was going to be, and probably not a whole bunch more than if we were to have used the plywood and 2-part foam.
We're very pleased how it came out. And the best part was we literally loaded all the "slices" into a Dodge Durango and re-assembled them onto a 1 inch pipe to get to where we are."1
Materials
"The composites house we use specified the foam and the process we will be using to finish the plug, but truthfully even the place we picked up the foam from didn't have any specs on it. What I do know is that it is an EPS foam and it was pretty inexpensive compared to some of the tooling foams and other foams we looked at. It is the same foam the home builders use in the lath and stucco process popular down here, and can even be found in some home improvement stores (but don't use the stuff that has a plastic layer bonded on one side).
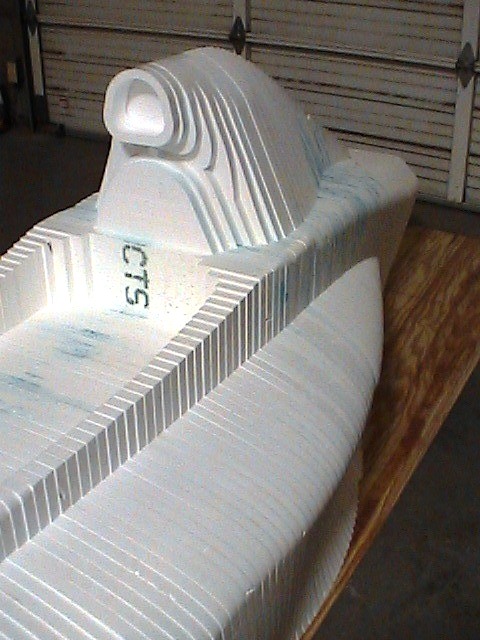
As a reference ... I can stand on the buck as you see it and not dent or deform this foam at all ... ther's no way I could have done that with the foams we've used in the past ... and they were between 2 and 5 lbs/cubic foot.
We will be using two layers of 7500 glass and an epoxy resin over the top of the foam (obviously, once it is sanded to shape) and then we will coat it with a layer of a mold finish "paint" that can be sanded smooth and then buffed out to provide the final finish."1
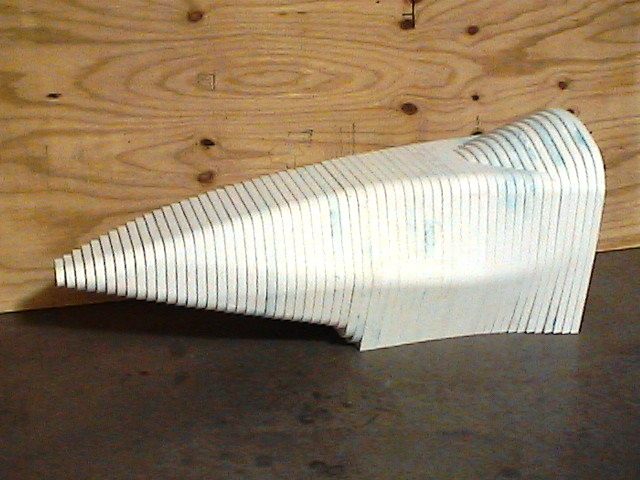
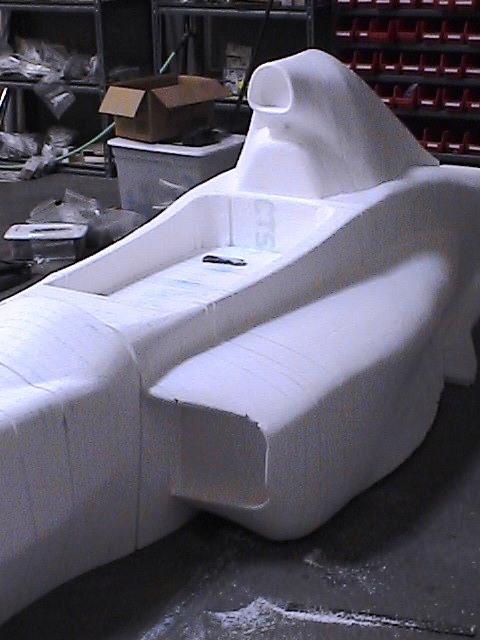
"This stuff will be a bit more difficult to sand in the really tight areas, but I took a little hand sander and did a sample of assembled pieces and it took 10 seconds to shape."
With regard to the images of the sanded sections, Matt says, "You may notice gaps in the foam sections and that is due to the foam not being exactly 1" thick. I think it varied from about .943" to 1" (this was expected as we pre-measured stacks of foam at the warehouse). We used cardboard shims when necessary to keep the running length correct."
Further discussion can be read on the related sports racer forum topic.
|